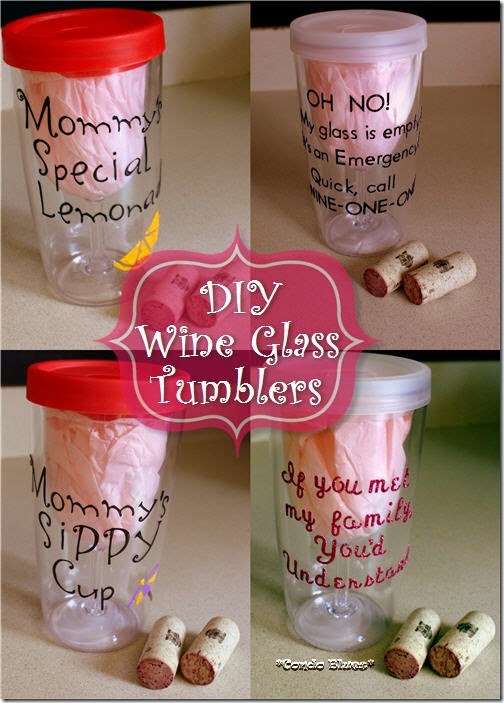
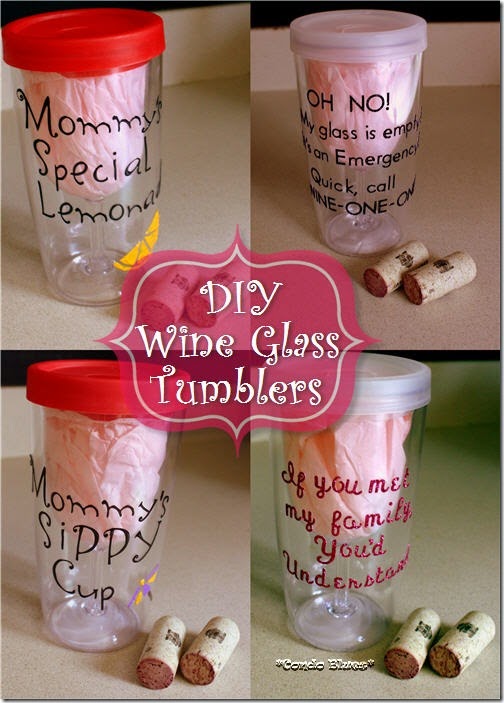
I bought a reusable BPA free insulated wine glass tumbler to use instead of a disposable cup for the reunion. I want to personalize my insulated tumbler so I know which one is mine at the party.

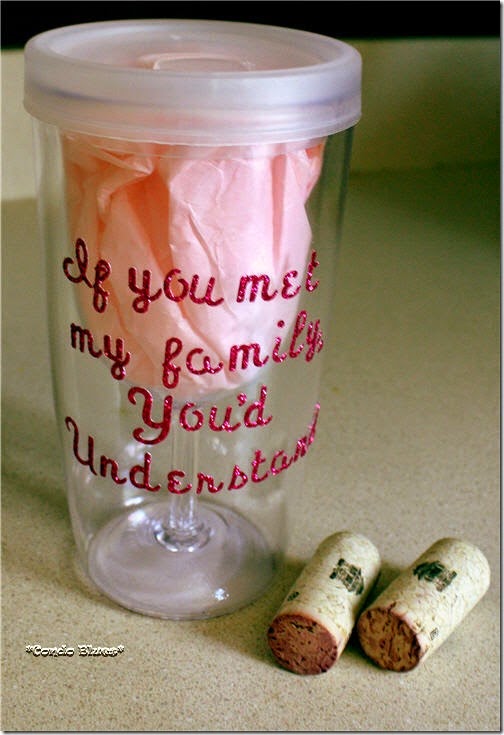
Decorated insulated wine glass tumblers: Mommy’s Special Lemonade, Oh No! My glass is empty! It’s an Emergency! Quick, call WINE-ONE-ONE!, Mommy’s Sippy Cup, and If you met my family you’d understand.

Here’s a little peak into my and actually all DIY and craft bloggers of the world. Sometimes it takes several specular craft and DIY fails before I get that Pinterest perfect post you see on my blog. Not that anything on this blog is Pinterest perfect! I make too many typos.
For example:
My Sizzix Big Shot alphabet dies are too big for the phrases I want to put on each glass. I don’t have a computerized die cutting machine to make a custom stencil. I HATE hand cutting words to make stencils. I avoid it where I can. Besides I don’t think freezer paper stencils will work for this project.
- Plan A: After several attempts (its been awhile since I’ve made one) I made a reusable silk screen of my phrase. I accidently plugged all the holes in the silkscreen because I attached the stencil to the tumbler using stencil adhesive and used regular craft paint instead of silk screen paint. FAIL.
- Plan B: I didn’t event attempt the fleeting thought I had of painting the phrases using alphabet glass paint stencils because it would take forever due to drying time. My freehand painting is also a guaranteed fail. PASS
- Plan C: I masked off a square with painter’s tape, added paper alphabet stickers, and painted the area with craft paint. I must have used the stickiest paper stickers in the universe because I couldn’t peel them off my cup without a craft knife that cut the plastic underneath. EPIC FAIL
Plan D wasn't what I first had in mind, but it did turn out to be quick, simple, and cute! This is the tutorial I am sharing with you.
How to Decorate a Plastic Wine Glass Tumbler

You will need:
BPA-free plastic wine glass tumbler (get more info about them here)
Rubbing alcohol and a cotton ball
Alphabet stickers
Mod Podge Outdoor and paint brush (make sure it is Outdoor formula.It is water resistant.)
Optional: DecoArt Americana Glass Paint and stencils (I’m using DecoArt Self-Adhesive Glass Series Americana Stencils - Party Time)
Make it:
1. Decide what you want to put on your wine glass cup. It could be your name, initials, a clever phrase, or whatever your floats your boat. I went with inside jokes and funny quotes I pinned to my Pinterest boards (follow me on Pinterest, won’t you?)
2. Remove any oils from your hands from your plastic insulated cup work area using the rubbing alcohol on a cotton ball. This will make the stickers and paint, if you chose to use it, adhere better.
3. Stick your stickers on the wine tumbler. I used a piece of painter’s tape as a guide for my letters otherwise they wouldn’t be in a straight line.
4. Optional: I added a little bit of flair to the Mommy’s Special Lemonade and Mommy’s Sippy Cup wine glass tumblers by using the stencils to paint a lemon wedge and drink umbrella under the phrase.

I didn’t stencil the other wine mugs since their phrases where longer.
5. Cover the alphabet stickers with two coats of Mod Podge Outdoor to seal the stickers and protect them from water when you gentle hand wash them. This will also keep the glitter from my glitter stickers from eventually flaking as glitter likes to do.

Glitter stickers are probably not the best choice for this project. I like the size and font. Let’s face it, scripty glitter fits my personality. If it lasts long enough for everyone to see it and get the joke over the weekend I’m happy.
6. It is a good idea to allow the decorated wine glass tumblers to cure for 21 to 28 to before you use and wash the glass. I recommend hand washing the glasses instead of the putting them a dishwasher.
6. It is a good idea to allow the decorated wine glass tumblers to cure for 21 to 28 to before you use and wash the glass. I recommend hand washing the glasses instead of the putting them a dishwasher.
7. Fill it up with your favorite beverage and drink responsibly!
Did you enjoy this post? Get more like it by subscribing to the Condo Blues RSS Feed or to Condo Blues by Email.

No comments :
Post a Comment
I love comments and read them all! If you’re shy and don’t want your opinions made public, you can always email me at condoblues [at] gmail [dot] com.