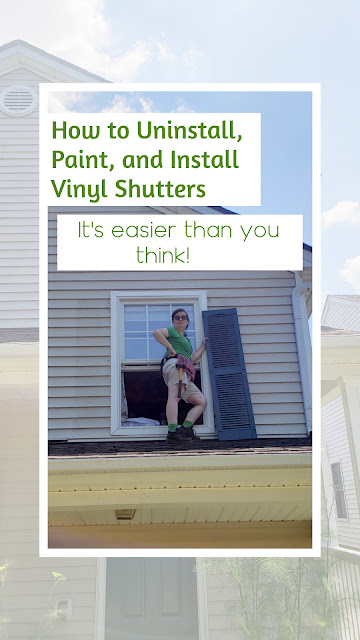
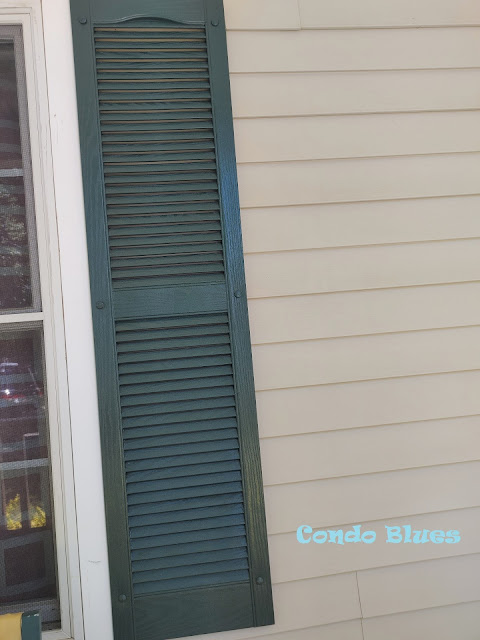
After many years of sun, snow, wind, and rain the vinyl shutters on our
house are faded. Instead of replacing them, I’m going to spiff them up so they
look better than new.
Can you paint vinyl shutters?
Yes you can! Here’s everything you need to know.
How to Remove Vinyl House Shutters
One of my neighbor repainted his shutters by leaving them on his house and attaching Kraft paper behind the shutter with painter’s tape before painting. That isn’t going to work for my two story house or allow me to clean the spider webs, cocoons, wasp nests (I didn’t have any but apparently wasps LOVE making a home behind shutters) and other yuck on the shutters and house.
You will need the following tools to remove house shutters:
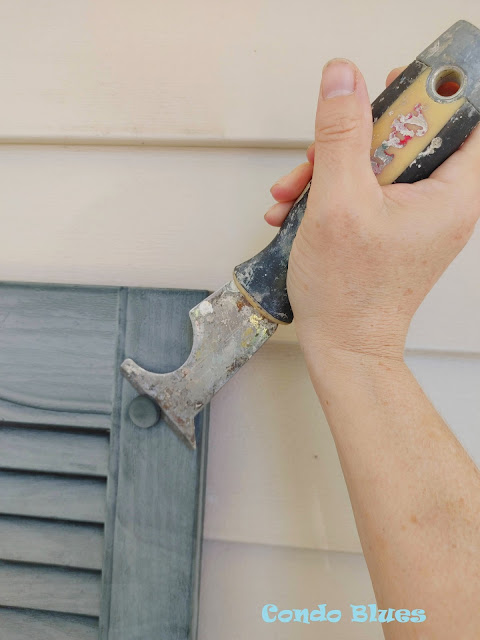
Painters tool – a
painter’s 9 in one tool looks like this
Hammer
Wire cutters
Pliers
Ladder if neededMarker
(Disclosure: I am including affiliate links in this post for your convenience.)
Step by Step How to Remove House Shutters Tutorial
1. Put the sharp edge of the painters tool behind the shutter
button that holds it to the house.
2. Give the painters tool a couple of good wacks with the hammer
until you cut through the button.
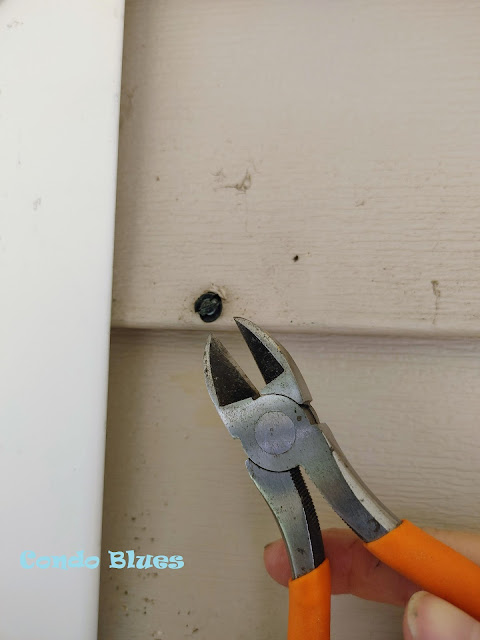
Tip: Some of my shutter buttons were harder to remove using
the hammer than others. For those buttons, I slipped my wire cutters under the
gap the painters tool made and used them to cut front of the button off.
3. Slip the shutters off the shutter button posts.
4. Remove the shutter button posts by pulling them out of the
holes with the pliers or cut them flush to the house with the wire cutters.
Don’t worry, we can still reinstall the shutters when you cut them flush to
the house.
5. Use the marker to write on the back side of the shutter its
position on your house. Some folks use numbers. I’m literal and went with
Living Room Left, Living Room Right etc.
How to Paint Vinyl Shutters
You can paint vinyl shutters with either a brush or spray paint. The key to success is using the correct type of paint – one that is made to coat plastic.
You do want to use a primer coat to give your paint an even finish and deep color.
You will need the following tools to repaint vinyl shutters
Shutters
Cleaning supplies – detergent (I used a sploosh of dish detergent in a bucket of water,) bucket, water, sponges, old rags, power washer, etc.
Paint formulated for plastic
Drop cloths
Paint risers, saw horses like these, etc.
Optional: paint brush and tray or paint sprayer
Step by Step How to Repaint Vinyl Shutters Tutorial
1. Clean the shutters with your favorite outdoor cleaning supplies and allow the shutters to dry.
2. Protect your work area with drop cloths and put the shutters on saw horses or some sort of paint risers (I also used paint cans from my paint stash. So fancy!) This will allow you to easily see what areas still need painting.)
3. Apply one coat of primer allow it to dry and then paint to the shutters using your favorite method. If you are using spray paint I recommend using a spray paint trigger handle like this one because it is a much easier way to paint an even coat without finger pain.
4. After the first coat is fully dry. Apply a second coat of paint and allow it to dry completely.
5. You are now ready to reinstall the shutters!
How to Install Vinyl Shutters
The most difficult part of reinstalling vinyl house shutters is making sure you are installing each shutter in its original place and lining up the shutter buttons with holes in the house. That’s why we labeled all of the shutters when we started the project. Clever, huh?
You will need the following tools to reinstall vinyl shutters
Vinyl shutter buttons – you can buy shutter buttons to match the paint color of your shutters here
Drill and drill bit that matches the size of your shutter buttons
Rubber mallet
Ladder if needed
Step by Step How to Put Up Shutters Tutorial
1. Use the drill and appropriate size drill bit for your shutter buttons to re drill the original shutter button holes if needed. Personally, I had some buttons that I fully pulled out with the pliers, some I had to cut flush to the house, and a few that were there for show and not attached at all.
2. I found it much easier to line the shutter and buttons up with the original holes (especially when I was on the porch roof) if I slide all of the buttons into the shutter holes before lining it up with the holes I drilled in the house rather than holding the shutter in place in one hand and sliding the button through the shutter and into house.
3. Use a rubber mallet, hammer, or the heel of your hand to push the shutter button shaft into the corresponding hole in the house. Some buttons slid in easily using the heel of my hand. Others needed a couple of extra taps with the rubber mallet and a few did not cooperate until I smacked them with a hammer.
4. Look back, relax, and enjoy a job will done!
Looking for more shutter and home improvement project ideas? Check out the following options – and more! - below!
Did you enjoy this post? Get more like it by subscribing to the Condo Blues RSS Feed .


No comments:
Post a Comment
I love comments and read them all! If you’re shy and don’t want your opinions made public, you can always email me at condoblues [at] gmail [dot] com.