Build me!
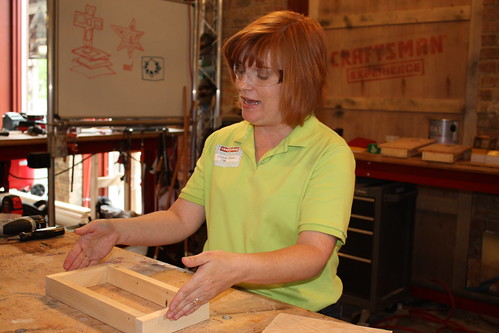
This is a great beginner project and one to do with the child in your life. My kid is a dog and isn’t allowed to help me on projects because he refuses to wear safety glasses. I had to find a group of willing students elsewhere. Like Chicago elsewhere.
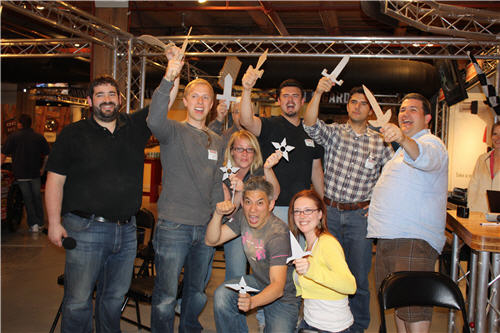
Richard from Craftsman, Primer Magazine, The Gadgeteer, Backpacking Dad, CC Chapman, Mom Start is hiding almost off screen), Wiskey in My Sippy Cup, Busy Dad Blog, and Attack of the Redneck Mommy.
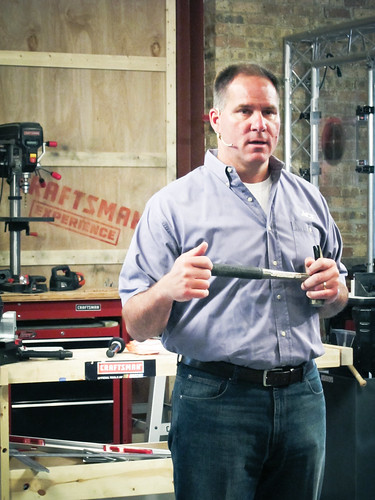
I developed these plans for my session at The Craftsman DIY Blogger Summit at The Craftsman Experience. If you ever in Chicago, you need to go! The Craftsman Experience is open to the public. They have hands-on project stations, live demos, and clinics every day. The Craftsman Experience also serves as a studio where they record pod casts and live stream events on the Craftsman Facebook page. You do not need a special invite either.
I wonder if this Ford has Sync? Photo Courtesy of CC Chapman
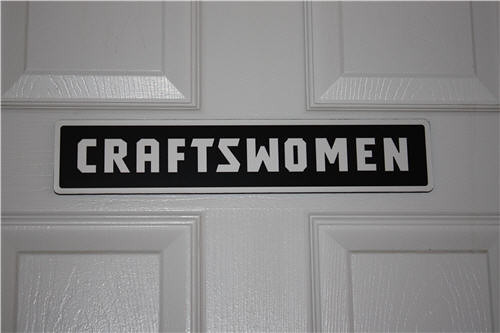
Ladies, don’t be intimated by the tools, brick, and industrial vibe. The Craftsman Experience knows how to make a girl feel welcome.
You see the Lady’s Room sign. I see something that needs to hang above my workbench.
Safety first! Lou Manfredini from the Today show gave the safety lecture. Including the proper way to safely use a hole saw. Thanks to Lou none of my students lost any fingers!
Tabletop Corn Hole Game Board Plans
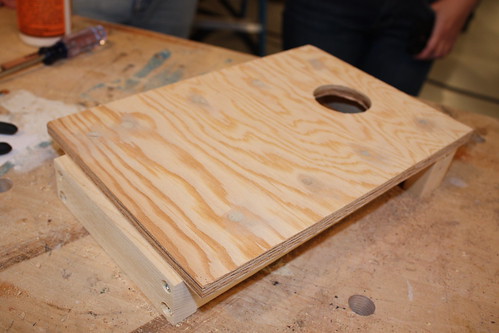
This tabletop cornhole game is simple box construction. I wanted to teach a project that makes a box because once you know how to make a box you can use those skills to make anything! A storage cube, a picture frame, a jewelry box, a cabinet – they are just variations of a box.
These instructions will make one set of two tabletop (8 inches wide by 11 inches long) tabletop corn hole game boards. You will also need eight mini bean bags to play the game. You can learn how to make mini beanbags and the cornhole game rules here.
Materials
(2) 1/2 inch thick by 8 inches wide by 11 inches long rectangles of plywood for the top of each game board
(4) 1 inch thick by 2 inches wide by 11 inches long pieces of wood for the sides of each game board frame
(4) 1 inch thick by 2 inches wide by 6 inches long pieces of wood for the top and bottom of each game board frame
(4) 1 inch thick by 2 inches wide by 2 inch long pieces of wood for the game board legs
Wood screws - wood screws look like this
Tools needed
Pencil
Drill and countersink drill bit (find it here) to start a pilot hole and countersink the wood screws
Needle nose pliers
(Disclosure: I am including some big bold affiliate links in this post for your convenience.)
(Disclosure: I am including some big bold affiliate links in this post for your convenience.)
How to Make a Corn Hole Game Frame
1. Do a dry fit. Butt the ends of two 2 x 11 pieces of wood and two 2 x 6 pieces of wood together on a work surface to form a rectangle shape.
2. Mark it. Use the pencil to indicate where you want to drill two pilot holes for the screws in the top and bottom game board frame pieces.

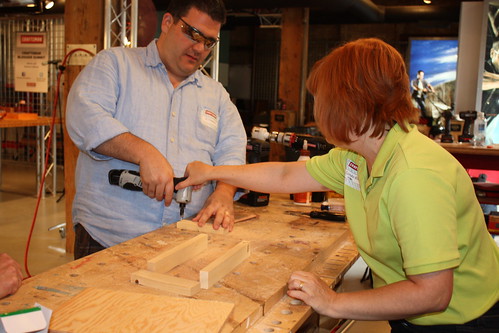
The Gadgeteer was one of my favorite students. It was exciting to see his confidence with tools grow as the day progressed and know I had a hand in that. Awesome!
3. Drill it. Drill two shallow pilot holes in the pieces of wood you marked in Step 2 with the drill and countersink bit. The pilot hole will keep the wood from splitting when you screw the boards together.
Craftsman didn’t tell me until after the event we got a sneak peak and used the Nextec right angle drill at my station. It's a handy little guy!
4. Glue it. Glue one 2 x 11 and 2 x 6 pieces of wood together at the corner. Attach the to hold the wood together while the glue dries. Congratulations! You created a butt joint! No, really. That’s what it is called. It’s a butt joint because the two pieces of wood butt up against each other.
I don't have a photo of the gluing step. Ignore the screws in the photo and marvel about my little lecture on why we should use wood glue on wood which you can't hear because this is a static photo. Photo Courtesy of CC Chapman
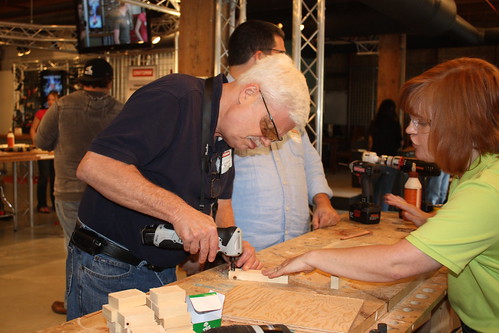
5. Screw it. Use the impact driver to screw a wood screw into one of the pilot holes in 2 x 11 pieces of wood. Steady the screw with the needle nose pliers as you screw it into the wood to ensure that you do not screw it into the board at an angle. Glue and screw all four corners of each game board frame.
Photo courtesy of CC Chapman
6. Countersink the top. Mark with the pencil and then drill pilot holes with the drill and countersink bit approximately every 2 ½ inches around the edge of the 8 inch by 11 inch game board top.
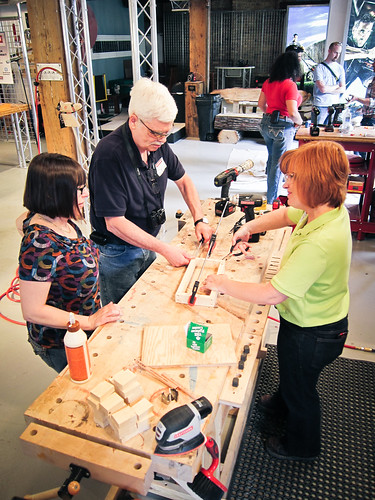
Craftsman built the workbench I used at my station. It's a little too high for me. Thanks Craftsman for making me realize I need my personal workbench a little shorter before I built it. Photo Courtesy of CC Chapman
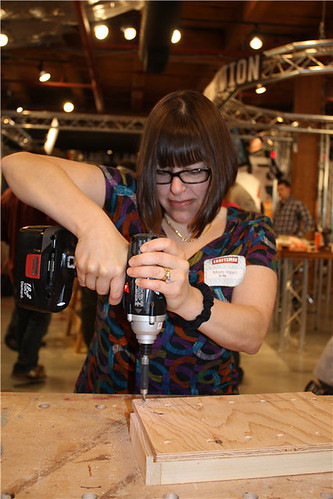
I promised Kim of Hormone Colored Days that I'd get her confident about tools so she can work on her new house. Check out her new blog Reluctant Renovator!
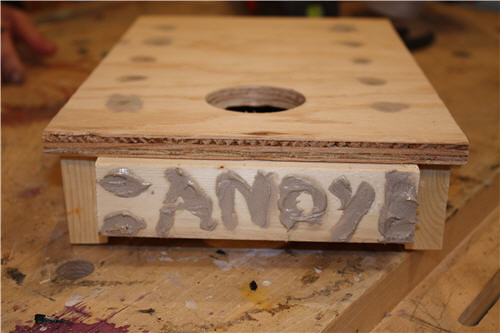
8. Cover it. Cover the countersink holes with wood putty.
Shannon from Whiskey in my Sippy Cup went to town with the wood filler.
Cut the Cornhole
9. Mark it. Use the measuring tape and pencil to indicate where you want to drill the hole in the top of the game board. The hole should be centered and 2 ½ inches from the top of the game board.
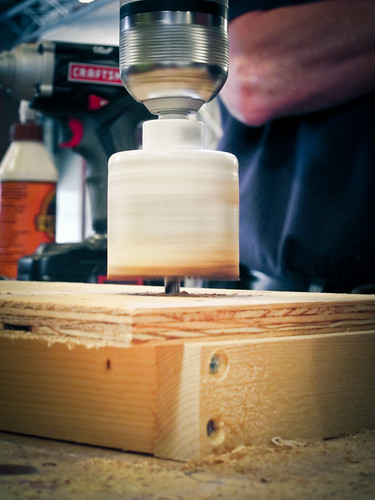
10. Cut the hole. Use drill and 3 inch hole saw bit to cut the hole in the center top of the game board.
Photo Courtesy of CC Chapman
Warning: As tempting as it is, do not push down on the hole saw with your other hand! If you do, it will stick, stall, or possibly slip. Let the drill do the work by lightly kissing the wood. Slow and steady wins the race when using a hole saw. Use your hand to steady the hole saw if needed but do not apply downward pressure.
Attach the legs
11. Mark it. Use the pencil to indicate where you want to drill one pilot hole in the side of the 8 inch by 11 inch piece of wood near the top of the game board. Do this for both sides of the game board.
12. Drill it. Use the drill and countersink bit to drill one pilot hole as indicated.
13. Glue it. Glue the legs onto the game board. Clamp the top to the legs to the frame of the game board with the adjustable clamps to hold it together while the glue dries.
14. Screw it. Use the impact driver to attach the legs to the frame with wood screws. Steady the screw with the needle nose pliers as you screw it into the wood to ensure that you do not screw it into the board at an angle.
15. Cover it. Cover the countersink holes with wood putty.
17. Finish it. Sand with the grain as needed and paint the game boards as desired.
Sanding time!
18. Play on! Learn the corn hole rules and make tabletop cornhole bean bags in this post on Condo Blues.
If You'd rather buy than DIY, check out the following cornhole game options - and more! - below!
Disclosure: Craftman paid for my airfare and travel expenses for this trip.






4 comments:
(Butthead laugh) Ah heh heh heh heh...She said cornhole!
So jealous you got to meet Busydad...I have been reading his blog for a few years now.
Pardon me for asking... What are the rules for the cornhole game? I don't understand!!?!!
Awesome! Some day when I have power tools and a place to keep power tools I'll totally come back to this post and make this... :P
Rob - Oh yeah! There were A LOT of cornhole jokes going on that weekend. And a few suggestive tweets about drilling smoking cornholes :)
I'll post cornhole rules and how to make the bean bags in a later post.
I featured this and the cornhole bag here at my blog Coffee and their Kisses. Please stop by and grab a button!
Post a Comment
I love comments and read them all! If you’re shy and don’t want your opinions made public, you can always email me at condoblues [at] gmail [dot] com.