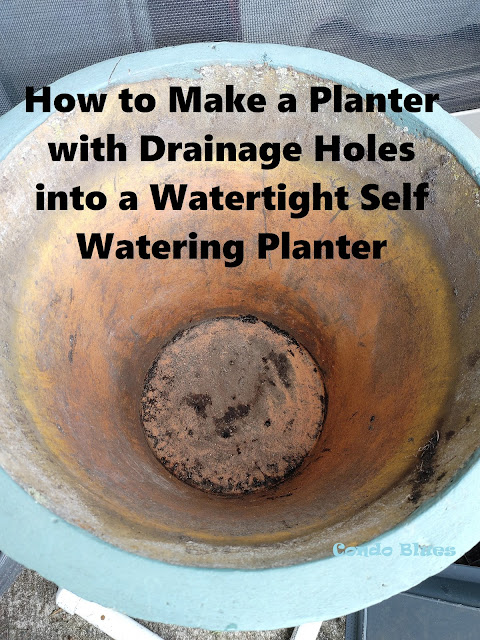
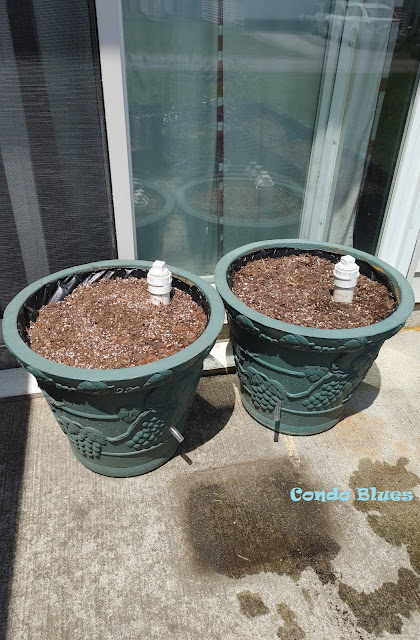
I have two large planters in my patio garden that have drainage holes in the bottom of the pot. I grow vegetables in them but they they need a little more attention in the watering department than the rest of my container garden that is planted in self watering flower pots.
I tried using these terra cotta watering stakes to get the drainage pots on the same watering schedule as the self watering pots with varying degrees of success. I think the watering stakes work better when I’m going to be away from the house for a bit than as a full time self watering solution. (Disclosure: I am including affiliate links in this post for your convenience.)
I’m redesigning and adding more space to grow herbs and vegetables on my patio. Since I am removing and remixing the current potting soil with new in all of my planters, I figure it is a good time to plug the drainage holes in the green planters and convert them into self watering planters.
How to Make a Self Watering Container Garden
You will need the following supplies to make a garden container with drainage holes into self watering project:
Planter or pot with drainage holes – I’m using large planters/flower pots in this example. You can use the same steps to plug the holes in any size flower pot you want and turn it into a self watering planter.
Fish safe pond liner – I’m using a fish safe pond liner like this one because I am growing vegetables in my self watering container garden. If you just plan to grow non edible flowers you can use a regular pond liner.
Heavy duty staples and staple gun – I recommend this heavy duty staple gun because it uses 4 four different types of staples and tacks which is helpful if you do any staple gun upholstery
1 1/4 inch PVC pipe that looks like this
1 1/4 inch PVC cap that looks like this
1 1/4 inch PVC elbow that looks like this
1-1/2" Threaded hub female adapter that looks like this
1/ 1/2" Threaded hub male adapter that looks like this
PVC cement - you can buy PVC cement here
Porous terra cotta flower pot – you can buy terra cotta flower pots here
Drill and drill bits
Vinyl tubing – you can buy food grade vinyl tubing here
Saw
Measuring tape
Weed barrier landscape fabric – you can buy weed barrier here
Scissors
Pea gravel
Potting soil
Plants!
Step by Step How to Make a Self Watering Container Garden Tutorial:
I found that the easiest way to close the drainage holes in my planters is to line the inside of the planter with a pond liner. The fish safe pond liner will also keep water from seeping from the somewhat porous sides of my planters.
1. Put the pond liner inside your flower pot or planter and cut it to fit. Use the heavy duty staple gun and staples to secure the liner to the inside of the planter if applicable.
2. On the outside of the flower pot, measure the height of the clay flower pot that we will use for our wicking chamber, add ¼ inch, and use the drill to drill a water overflow hole in the side of the container and pond liner at that measurement.
3. Cut a small piece of tubing and slip into the hole in the flower pot and liner. It is a good idea to wrap the end of the overflow tub that will sit inside the container with a small piece of weed barrier to keep potting soil from clogging the overflow water tube.
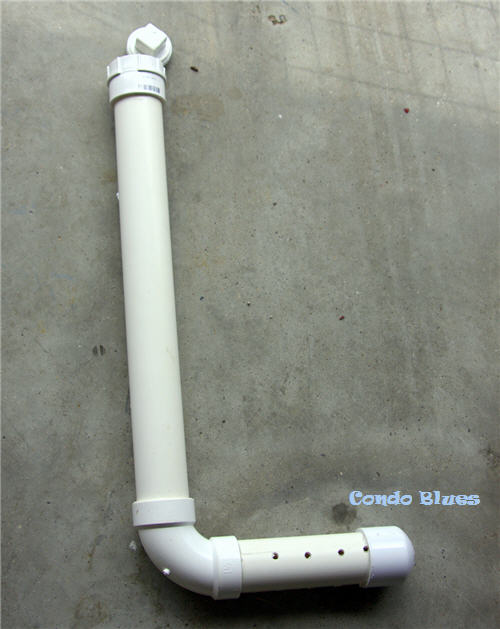
4. Measure the height and width of the large flower pot and cut the PVC pipe with the saw to the height of the plastic tub plus several inches to make the watering tube. Measure the width of the flower pot minus a few inches to make room for the elbow joint and plastic end cap to make the tube that distributes water in the reservoir in the bottom of the pot.
Tip: Some home improvement stores will cut PVC pipe for you. Even better if you can find a store that lets you order it online and pick it up already cut to your dimensions at your local store.
5. Use the drill and drill bit to carefully drill a series of holes in the shorter of the two PVC pipes.
6. Use the PVC cement to glue the PVC pipes, caps, and elbows into place.
7. Wrap the bottom of the watering tube with a piece of landscaping fabric to discourage the pea gravel and dirt from clogging the holes in the watering pipe. Put the watering tube in the bottom of the planter.
8. Fill the terra cotta flower pot with soil put it beside the watering tube in the bottom of the planter. The clay flower pot is our wicking chamber. The clay pot is porous enough to draw water from water reservoir and into the dirt in the wicking pot. The soil in the wicking pot acts as a wick to the layer of potting soil above it. The soil draws water up from the water reservoir and to the plant’s roots. Science baby! Ain’t it cool?
9. Fill the bottom of the self wicking planter pot with pea gravel until the level reaches the overflow drainage tube you drilled into the side of the planter.
10. Fill the rest of the planter with potting soil and soil amendments as desired.
9. Plant your seeds, water them by removing the twist cap on the watering tube, and watch them grow!
If you'd rather buy than DIY, check out the following ideas – and more! - below!
Did you enjoy this post? Get more like it by subscribing to the Condo Blues RSS Feed .


No comments :
Post a Comment
I love comments and read them all! If you’re shy and don’t want your opinions made public, you can always email me at condoblues [at] gmail [dot] com.