Last Christmas I found the head of one of our Christmas stocking holders snapped off. I tried to repair it but it didn’t hold. The reindeer’s head careened to the side and stayed that way all season long.
Because there is nothing that says love and joy that a severed head on your Christmas mantle.
I poked around for a replacement. Most were already picked over and what I saw didn’t really appeal.
The only choice is to DIY a Christmas Stocking holder myself.
DIY Christmas Ornament Stocking Holder
The measurement for my wood base, dowel, and caps are based upon what I had in my workshop. You can change the dimensions to fit your needs as long as your stocking holder base is at least five inches long. If it is shorter, it may not stay on your mantle when you hang your Christmas stocking on it.
I am decorating my DIY Christmas ornament stocking holder monogram Christmas ornaments we already have. You can get monogram Christmas ornaments similar to mine here if you like or use a favorite ornament for each member of the family. (Disclosure: I am including affiliate links in this post for your convenience.)
You will need:
Wood for the base – these 4 x 6 inch unfinished craft wood blocks are ideal
3/8 inch wood dowel – you can buy wood craft dowels here
Small hand saw – I used this mini hack saw
Wood dowel cap – you can find a variety of 3/8 wood dowel caps here
Sandpaper
Electric drill and 3/8 inch drill bit
Wood glue – this wood glue is my favorite
Craft paint and paint brush
Small nail
Hammer
Cabinet knob with a threaded rod attached – you can find a variety of cabinet knobs with an attached threaded rod hereChristmas ornament
Step by Step How to Make it Tutorial
1. If needed sand all of your unfinished wood pieces smooth with 80 grit sandpaper, followed by 120 grit, and 200 grit.
2. Find the center of the wood base. Use the drill and drill bit to drill a hole the same size as your dowel rod in the center and approximately two inches from what will be the back of the stocking holder.
3. Use the mini hacksaw to cut the wood dowel to seven inches in length if needed.
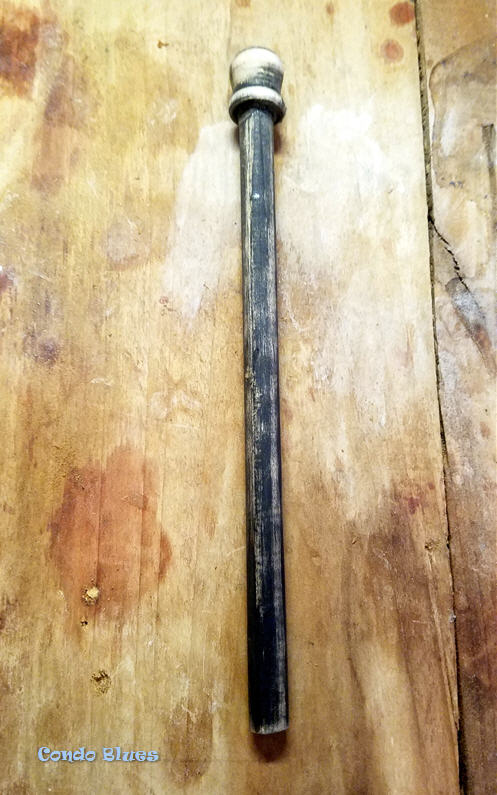
4. Use the wood glue to glue the wood dowel cap to what will become the top of the dowel rod. Allow the glue to thoroughly dry.
I am using a dowel and cap I had from a failed project. They all aren’t winners – but this one is!
5. Spread a bead of glue onto the bottom of the dowel rod and insert it into the wood you drilled into the wood base. Allow the glue to thoroughly dry.
6. Use the paint and paint brush to paint all of the unfinished wood. Allow the paint to thoroughly dry.
7. Using a small hammer gently tap the nail at an angle into the dowel rod to make the ornament holder.
8. Drill a small pilot hole into the stocking holder base with the drill and drill bit and screw the cabinet knob into place.
9. Hang your stockings by the chimney with care with hopes that Saint Nicholas soon will be there!
Rather buy than DIY? Check out these festive Christmas stocking holder ideas - and more!- below!
Did you enjoy this post? Get more like it by subscribing to the Condo Blues RSS Feed or to Condo Blues by Email.


No comments :
Post a Comment
I love comments and read them all! If you’re shy and don’t want your opinions made public, you can always email me at condoblues [at] gmail [dot] com.