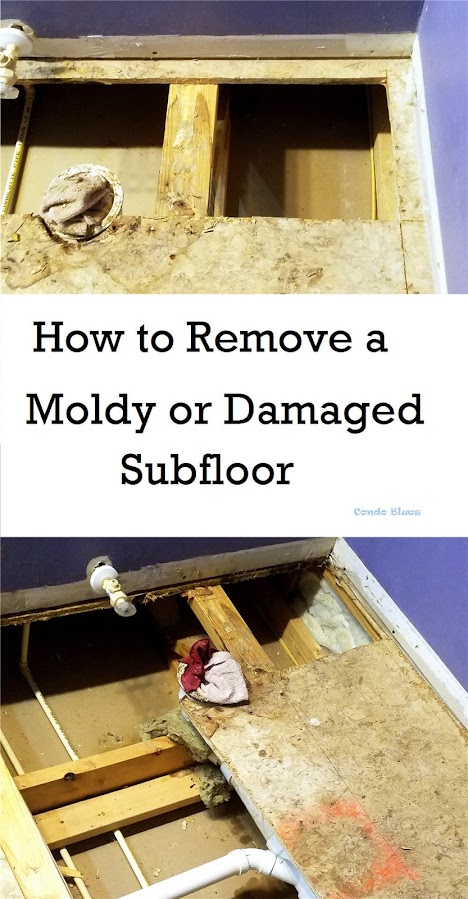
On Master Bathroom Demo Day I found black mold on a chunk of the wall and on several areas of the subfloor.
After removing the damaged drywall, the next step in the process is to remove the bathroom subflooring, check for mold or water damage, have it treated if necessary (and crossing my fingers I don’t,) and replace the subflooring.

The first thing you need to do when removing a subfloor is find and remove all of the construction screws, and in my case, a few nails too.
Next you should plan where you need to cut the flooring panels to remove them. I followed the seams in the subflooring panels to make it easier on myself. Originally I planned to remove each whole sheet of flooring at a time and use them as a cutting template for the new subflooring until the construction adhesive on the joists told me otherwise.
So what exactly do you use to cut subflooring without cutting the joists?
I’m glad you asked!
I cut the majority of the subflooring with a circular saw. After doing my research I bought a Skil circular saw which is powerful enough for construction yet not too heavy for a 4’11” woman like myself to haul around and handle. Skil invented the circular saw which was another reason I choose to go with them. I have this exact Skil circular saw with a laser guide you can buy for 10% less on Amazon than I did at Lowes.
I removed each section of cut subflooring by loosening the construction adhesive on the joist with a rubber mallet and pry bar (you can find several types of pry bars here) followed by tender words of encouragement and brute force. A big shout out to safety goggles, work gloves, and woodworking masks when the sawdust and debris started to fly!
After all was said and done, I had a couple of inches of subflooring next to the walls that still needed to go. The absolute, worst, most dangerous, and ABSOLUTELY NOT RECOMMENDED thing to do is to remove all of the safety guards on your cutting implement of choice. Safety guards are on saws for a reason and never should be removed! Safety equipment helps people who like to keep all of their body parts intact and saves those not very smart folks who think tool safety is for wimps (it isn’t) from themselves. End of Pubic Service Announcement and Please Don’t Sue Me If You Ignore Safety Protocols Notice. I don’t have any money anyway. I am a writer.
How to Cut a Subfloor Close to a Wall
Cutting the few inches of subflooring next to the wall in an entire room will quickly overwhelm an oscillating tool, although I found it handy for corners. I have this exact Rockwell Oscillating Multi-Tool and recommend it because it has a universal shoe that allows it to attach any brand of blades and sanders to it.
 I worked in sections because this is a second floor bathroom. It would be
all too easy lose my balance on a joist and put my foot through the backside
of the kitchen ceiling sheetrock.
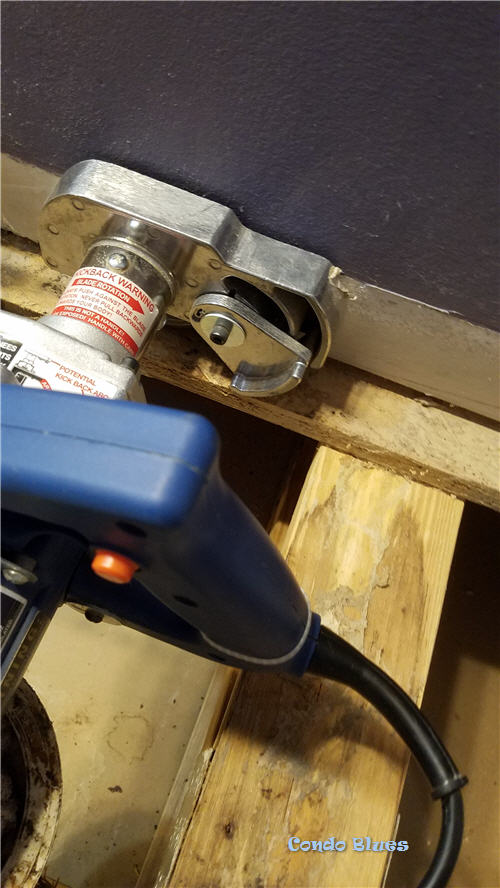
The best tool for the job of cutting a floor as close to the wall as possible is to use a toe kick saw. A toe kick saw looks like this. It looks and acts similar to a circular saw that will butt against a wall or under a cabinet right up to the toe kick and allow you to cut flooring flush to the wall or cabinet. My place for any tool that I’ll probably use for only one project is my local tool lending library (best. membership. ever. Do an Internet search for one in your area you may be surprised that you have one and don’t know it. I was!) They didn’t have one, fortunately I was able to rent a toe kick saw from Home Depot here.
I found the toe kick saw was more likely to kick back than my circular saw. I followed the same safety precautions I would if I were using a circular saw.
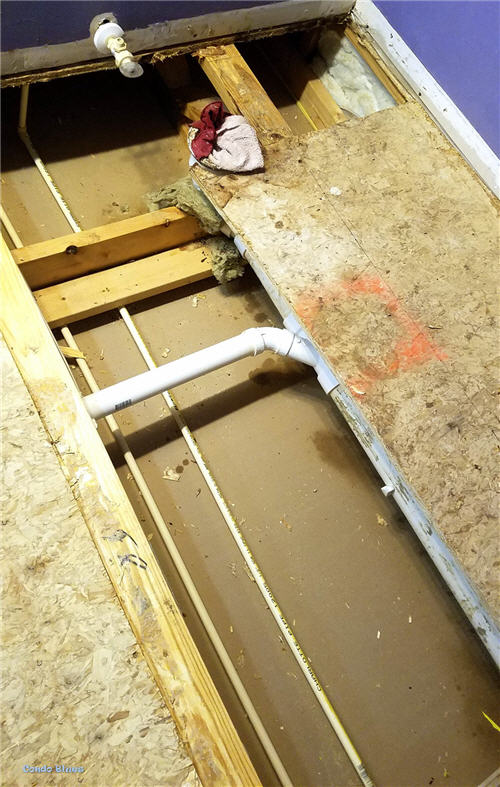
And here’s the result!
Looking for more subflooring tools to do the job right? Check out the following options - and more! - below!
Did you enjoy this post? Get more like it by subscribing to the Condo Blues RSS Feed or to Condo Blues by Email.


No comments :
Post a Comment
I love comments and read them all! If you’re shy and don’t want your opinions made public, you can always email me at condoblues [at] gmail [dot] com.