Condo Blues: rennovation
Showing posts with label rennovation. Show all posts

Monday, April 3, 2023

How to Drill a Hole in Ceramic, Porcelain, and Stone Tile

One day after refilling the conditioner in this hanging soap and shampoo Dispenser , The pump bottle refused to snap into place, lurched from the wall, and tried to kill me. I bobbed. It weaved. The bottle crashed to the floor and cracked. (Disclosure: I am including affiliate links for your convenience.)

One of the things I like about the Dispenser is that you can buy replacement parts. I did so several times over its lifetime. However, this time I needed so many new parts it ended up costing as much money as if I bought a new wall mounted shampoo and conditioner pump.

Since my Dispenser was looking shabby and I think we got more than our money’s worth out of it considering it was a yard sale purchase, I bought a replacement.

I bought this exact Simple Human Double Wall Mount Shower Pump because we really only use two pumps out of the original four. From reviews, it is sturdier (I see the same dispenser in hotels so it has to be durable to take constant abuse) which means I may not have to replace the pumps over time. I love that!

The only negative according to the reviews is the bracket adhesive is not as strong as the adhesive the Dispenser uses. There were reports of the Simple Human dispenser falling off the wall after all of the instructions were followed. Not a huge deal because the Simple Human dispenser also comes with screws and wall anchors. I grabbed my drill and got ready to answer the question,

How Do you Drill a Hole in Tile?

Wednesday, March 23, 2022

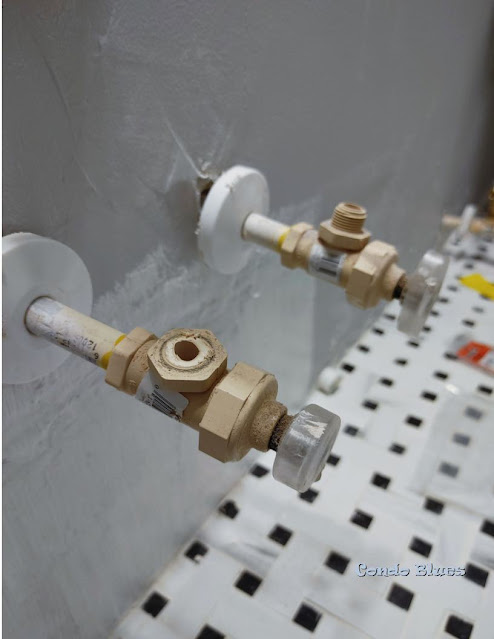
How to Replace Plumbing Valves Without Soldering

The CPVC water shutoff valves that came with my house are prone to leaking. I always give them an extra tight twist with my wrench which usually solves the problem.

Or makes a bigger problem when I accidentally snapped the threads off a bathroom valve when I installed our bidet (I bought this exact Lux Bidet attachment – it is life changing!) (Disclosure: I am including affiliate links for your convenience.


how to replace broken water shut off valve
The broken bathroom water shut off valve.

I jumped in the car and grumbled my way down to Lowes that I’m now in a situation where I have to wait on a plumber to replace the valve buy instead of finishing the bidet installation like I planned. Well, at least I have the chance to replace all of the cruddy PVC shutoffs with sturdy metal water valves we’ve been talking about.

I figure I can make the plumber’s job a little easier (and a little cheaper for me) if I buy replacement stop valves before I made the appointment. I’m not confident enough in my soldering skills to do the job myself and not burn down the house in the process.

Sunday, June 27, 2021

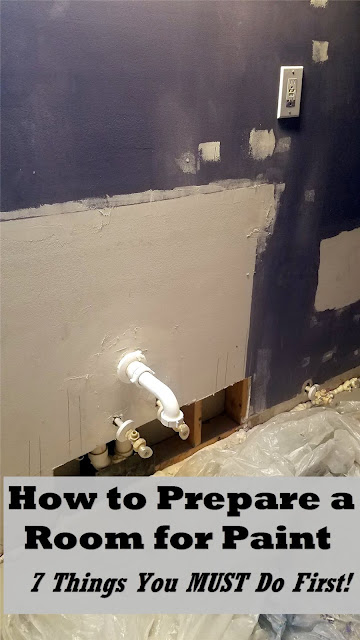
How to Prepare Walls for Painting

As much as I would love to jump into my bathroom and start slapping new paint on the walls, the new paint would look awful. I’d make the job ten times harder if I don’t prepare the walls for paint first. I lot of folks  don’t bother filling nail holes and such thinking they’ll hang the same stuff in the same place on the walls of the newly painted room. Sometimes that’s the case. More often than not, plans change and the little hole you have to fill and repaint is going to look worse than if you filled it before you started the project.

Trust me. I get it. I’ve had this conversation with myself every time I’m tempted to take a shortcut when my master bathroom renovation throws me another unexpected curve ball.

“Do you want to do it fast or do you want to do right?” is always the last question I ask myself before I make a decision about a task. Then I sigh and say,”I want to do it right.” Sure it may be more of a pain or take longer (hence the internal sigh) but doing it right the first time is better than cheating and having to do it over again.


how prepare a room for painting
Save these painting tips to your Pinterest boards for later! Share them with your friends!

How much preparation your room will need for paint will depend upon:

Sunday, June 13, 2021

Ten Things You Need to Know to Level and Repair an Uneven Floor

After  I replaced the moldy wood subfloor in my master bathroom, I checked it with a torpedo level (a torpedo level looks like this,) declared it level, and promptly passed out in bed from exhaustion. (Disclosure: I am including affiliate links for your convenience.) The next day, I double checked the new subfloor with the correct tool for the job, a large I-beam level (an I-beam level looks like this.)

The new wood subfloor is not level.

There are a few random areas where the floor isn’t flat, mainly where some of the seams of plywood sheets meet - a pretty common thing when you are replacing a subfloor (especially if it is the first time you’ve removed and replaced a subfloor.)

You can’t lay tile on an uneven floor. Well, you could, but the grout and tile will eventually crack and break in those areas and you’ll curse the day you were born when you have to rip everything out (probably) and do what you should have done in the first place. Fix the uneven wood subfloor with a self leveling underlayment coating for floors.

how to fix an uneven sloping floor

Save this post to your Pinterest boards for later! Share it with your friends!

Monday, February 8, 2021

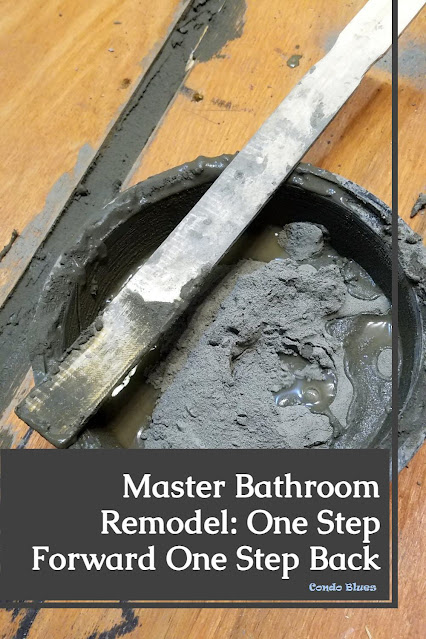
Master Bathroom Remodel One Step Forward One Step Back

I've said it before and I'll say it again: home improvement isn't always as easy as they show it on TV. Anyone who tells you that you can do a quality renovation in a couple of days just like on TV is a big, fat lair who hasn't spent a week in an editing bay cutting weeks of construction footage into something that looks like it only took hours without taking basic things into consideration things like drying or delivery times.

In other words, after demolishing and installing a new subfloor I hit a snag. Drat!
Bathroom remodel snags they don't tell you on TV
Save this post to your Pinterest boards for later! Share it with your friends!

Sunday, January 24, 2021

Master Bathroom Renovation: I Replaced the Subfloor!

Removing and replacing the entire master bathroom subfloor is a job that I haven’t been looking forward to and is the reason why we put the renovation off for so long. Everything hinges on the subflooring is cut perfectly to size and level.  Once I removed the old moldy subfloor, I realized that there wasn’t anything to screw the new flooring to around the edges of the room. I can’t leave it this way or the new floor could slope over time and we’d have to start the process all over again. Trust me, once is more than enough! 

how to replace subflooring
Save this guide to your Pinterest boards for later! Share it with your friends!

 I  nicked a couple of joists when I was cut the floor to remove it  with my circular saw by accident. This might create a weak spot where the flooring could squeak, crack, or sag or it might not because the cuts are not too deep. 

Monday, January 11, 2021

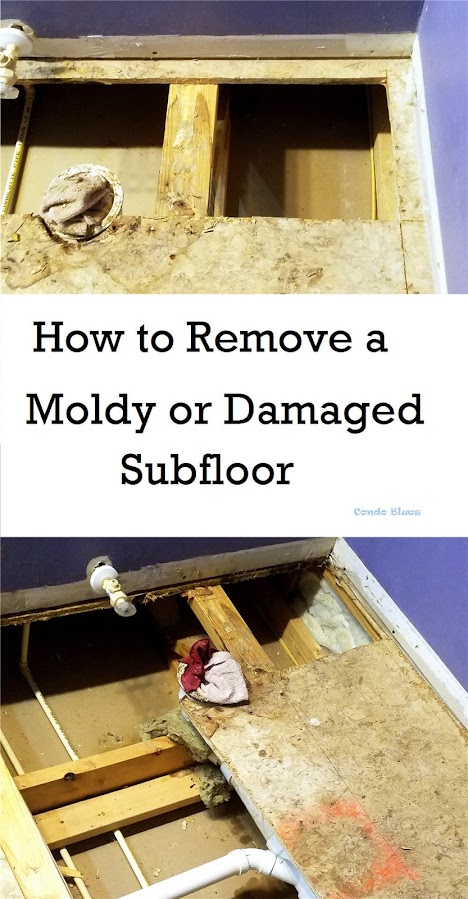
How to Remove a Damaged or Moldy Subfloor

On Master Bathroom Demo Day I found black mold on a chunk of the wall and on several areas of the subfloor.


how to remove and replace subflooring
Save this tutorial to your Pinterest boards for later! Share it with your friends!

After removing the damaged drywall, the next step in the process is to remove the bathroom subflooring, check for  mold or water damage, have it treated if necessary (and crossing my fingers I don’t,) and replace the subflooring.