Every once and awhile someone asks me why I named this blog Condo Blues, when in reality, I actually like my house.
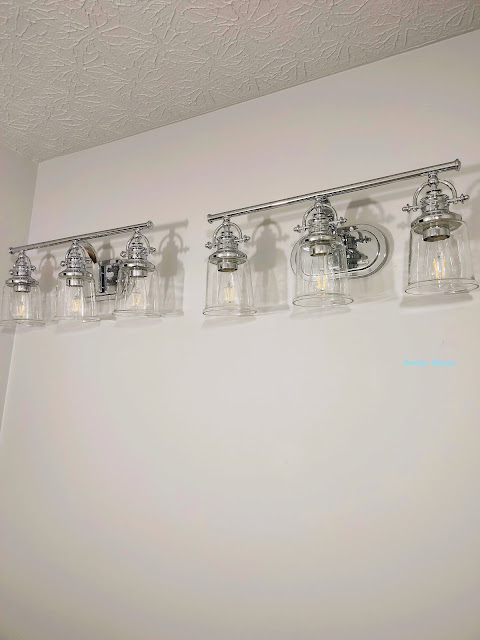
Oh gentle reader, I will say that after a steady diet of every DIY, home renovation, and decorating TV show imaginable my sweet, simple, naive self quickly found that some basic home projects are not as simple as they appear on TV once I bought a house. My most recent big, glaring smack in the face turned out not to be easy as I thought was replacing a set of bathroom vanity lights in an hour or two.
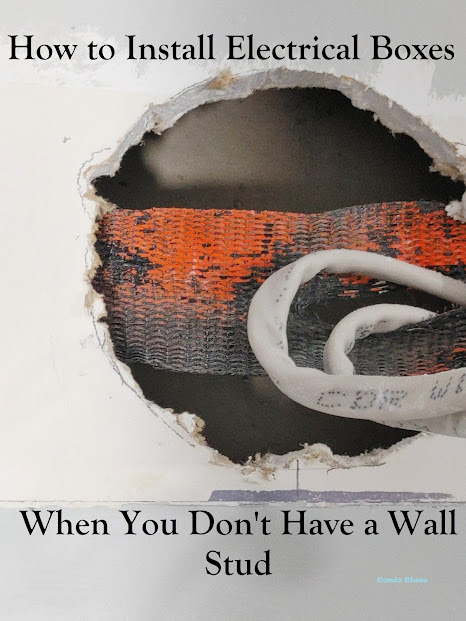
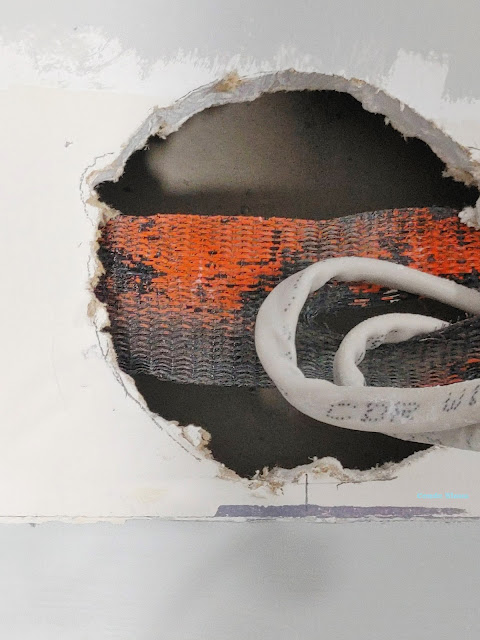
Because I found this hiding under the old vanity lights.
Surprise! My one hour project will now take two days at the least!
There aren’t any electrical boxes installed in the wall for the wiring like there should be. I’m also pretty sure that is a crack in the fabric of space and time on the right. I better patch that before Weeping Angels, Daleks, and all sorts of bad things seep though and ruin the progress I’ve made on my bathroom renovation.
The most electrical boxes (especially when you need to hang a wall light off it) are installed by attaching the electrical box to a stud when the wall is being built. This is not the case with the wiring for my bathroom wall lights because the electricians ran the wiring in the center of the wall stud because of the plumbing for the sinks sharing that space in the framing. The builders could have installed a number of electrical boxes to work around this but apparently took the easy and possibly not building code complicate (based on a huge discussion on the Condo Blues Facebook page ) way out with bare wiring poking through a hole in the drywall.
Tsk. Tsk.
How to Install a Wall Sconce Electrical Box
This is not a hard project, just an annoying surprise and the reason why I this project will take a couple of days instead of an hour like I thought. Cue blues music and the inspiration for the name of this blog.
Disclosure: I am not a licensed electrician. I am a DIYer who has built her own computers, switched out fixtures, and other very simple electrical projects because my father began his career as a licensed electrician (who I have on speed dial.) If you do not feel comfortable working on electrical projects – DON’T. Hire a licensed electrician.
Even more important warning: TURN OFF THE ELECTRICITY TO THE ROOM EVERY TIME YOU ARE WORKING WITH ELECTRICAL WIRING, OUTLETS, SWITCHES, LIGHTING, ETC. Working with live electrical wires CAN KILL YOU. For real. No joke. Again, if you are not confident in your abilities or are uncomfortable working with electrical elements HIRE A LICENSED ELECTRICIAN.
Even if you want to call in a pro (there is no shame in that) it is good to know what steps they will take to install an electrical box and wall light when you do not have a wall stud to attach the electrical box.
For this project you will need:
Knowledge of your local electrical and building codes so you know what type of supplies and installation will comply with your local laws.
Voltage tester – a voltage tester looks like this
Round electrical box – there are two types of round electrical boxes you can install after the wall is built that do not need to be attached to a wall stud.
- Remodel construction ceiling fan brace and electrical box like this one which was recommended to me by another licensed electrician friend. He says this type of electrical box is best if you do not have any pipes, ducts, or plumbing sharing the space in between the wall studs.
- Round old work electric box like this one This type of electrical box has a series of fins that flare out to brace and attach the electrical box to the back side of the drywall. I had to use this type of electrical box because I have the pipes or the sinks sharing the same space in between the studs.
Pencil
Drywall saw– a drywall saw looks like this
Screwdriver
Disclosure: I am including affiliate links in this post for your convenience.
Step by Step How to Add an Electrical Box Tutorial
1. Turn the electricity to the room off at the circuit breaker box.
2. Turn on your voltage tester and touch the tip of the voltage tester to each of the bare electrical wires. If the power to the wires is OFF the light on the voltage tester will turn GREEN. If the power to the wires is still ON (also called HOT or LIVE in fancy electrician speak) the light on the voltage tester will turn RED and let you know you need to turn the power off at your home’s circuit breaker box.
3. Determine where you want to install the electrical box (obviously mine was chosen for me.) Mark the spot by tracing the outline of the electrical box with a pencil. I lucked out (finally!) My boxes came with paper temples.
4. Use the drywall saw to follow the pencil outline and cut a hole for the electrical box in the drywall. I prefer using a hand drywall saw because it gives you more control over the size and shape of the cuts you need to make. This is extra important because I don’t want to accidentally cut into the plumbing.
5. Test the size of the hole by slipping the electrical box inside the hole. Remove the electrical box and adjust the size or shape of the hole in the wall as needed with the drywall saw.
6. Remove one (or more if needed) of the knockouts (on the box I used the knockouts like a hard plastic flap) for the wiring to thread through.
7. Thread the wall wiring into the electrical box through the back side of the box’s knockout.
8. Center the electrical box into the drywall hole in the wall.
9. Use a screwdriver to tighten each screw on the side of the electrical box. This will make the supports flare out and attach the electrical box to the back side of the drywall.
10. Install the new bathroom vanity light following the instructions that came with your wall scone.
Most wall lights are designed to attach to the electrical box (that should be) in the wall.
11. Turn the electricity back on to the room from the circuit breaker box.
12. Let there be light!
Looking for more Bathroom renovation tools and ideas? Check out the following options - and more! - below!
Did you enjoy this post? Get more like it by subscribing to the Condo Blues RSS Feed .


No comments :
Post a Comment
I love comments and read them all! If you’re shy and don’t want your opinions made public, you can always email me at condoblues [at] gmail [dot] com.