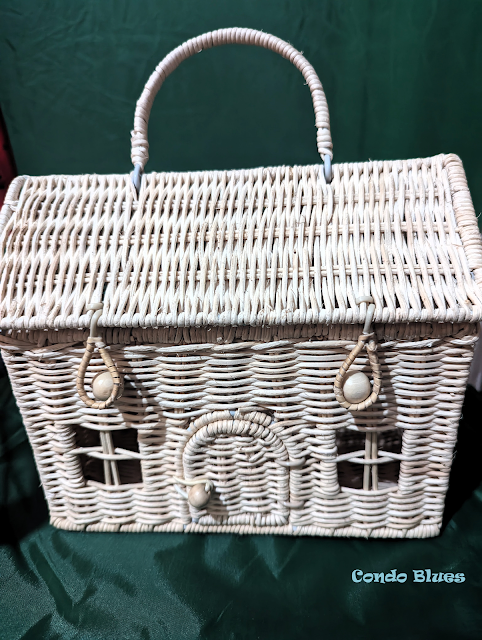
I found a cute house shaped basket at Homegoods (you can
buy a similar house shaped basket here
) and thought that would make a unique tip jar. (Disclosure: I am including affiliate links for your convenience.)
What I really like about this basket is that it offers two
ways for people to leave tips. Simply open the lid and they can drop in some
cash, or open the door and leave their tip inside.
While it's
already cute on its own, I knew it could use a little makeover to make it even
cuter.
Friday, April 26, 2024
DIY Painted Wicker Basket Makeover
Friday, April 12, 2024
Quick and Easy Lavender Bath Salt Recipe for Sore Muscles and Itchy Skin
No matter how well I try to protect myself from my pollen allergies, I often end up with itchy skin and sore muscles after a day spent tending to plants in my garden.
That’s when I like to indulge in my favorite bedtime ritual. I find that the best way I found to soothe itchy skin and sore muscles is with a nice, relaxing bath with soothing DIY bath salts.
This easy recipe combines Epson and sea salts, known for their muscle-relaxing properties, with baking soda, which can sooth itchy and irritated skin, and is quick and easy to make. It also is a fantastic handmade gift idea for anyone in need of a little pampering.
Friday, March 29, 2024
Joann’s Fabrics and Crafts is Broken and Here’s How to Fix It
If you've ever wondered why Joann Fabric and Crafts corporate office seems to
make purposefully terrible business decisions, let me assure you – it's not in
your head. The truth is, the upper management at Joann’s has a long history of
being completely out-of-touch with their stores and customers. This finally
led to the company filing for Chapter 11 bankruptcy protection in March
2024.
Joann Fabrics made
210.9 million to 212.9 million in profit dollars and added 9 million new
customers by the end of the 2020 fiscal year. A lot of this is due to 2020 lock downs when people were turning to
old and new hobbies to pass the time. If Joann's corporate was smart and paid
attention to what their customers want and need, Joann’s would still be riding
this customer wave, but they didn’t.
Going from being profitable to
bankruptcy in four short years
takes a lot of talent in upper management to screw up a company that
much. Corporate tries to explain it away by saying customers are skipping
discretionary spending, but that’s only a tiny piece of the puzzle. Do you
know what people do in tough times? Make, repair, or upcycle things instead
of buying a new one. There is a reason visible mending is a popular
trend right now! It sure would be nice to buy a cute iron on patch at Joann’s
to fix my favorite pair of jeans but I can’t. Those shelves at my store are
practically bare and have been for a long time.
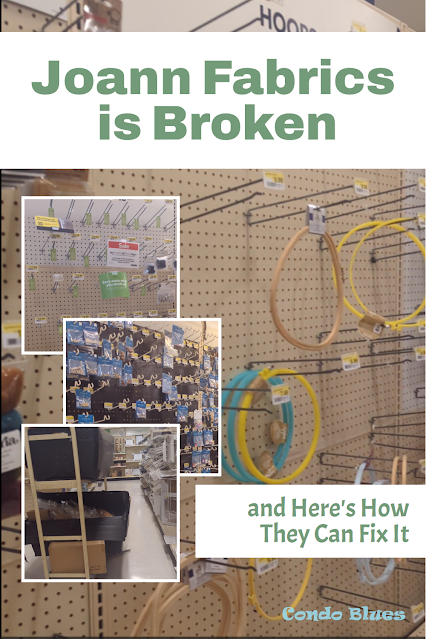
I took these photos of my local Joann Fabrics store in February 2024.
Please share this article with your friends!
Friday, March 8, 2024
How to Replace a Folding Camp Stool Seat
I bought two folding camp stools to use as foot stools on my front porch last year. I like that the folding stools are versatile. I don’t like that Michael's didn’t have two with matching fabric. Not to mention the fabric is pretty cheesy and cheap.
Let’s fix that.
It’s time for a folding camp stool makeover!
Wednesday, February 14, 2024
Easy Coat Closet Organization Makeover!
Our coat closet is supposed to be for coats and hats, but it turns into a big mess because we store all kinds of things in there. I regularly clean and organize it, but it always ends up messy again. The closet organizer that came with our condo isn't good enough because we keep more than just coats and winter gear in there.
This coat closet needs better organization and a makeover!
Wednesday, February 7, 2024
DIY Stylish Throw Blanket Storage
On cold nights, I find myself reaching for one of the many
handmade throw blankets I have scattered throughout my house. Lacey, my dog, is drawn to these cozy blankets like a magnet. In fact, she loves them so much that she often takes over the entire blanket, leaving me no choice but to grab a second one for myself. Which is why more often than not, I use a throw blanket.
As a result of the crafty women in my
family, I have amassed quite the collection of hand-knit and crochet
throws. However, storing them in our coat closet has become a chaotic challenge.
Our coat closet is a disaster! It's overflowing with random items, and the blankets contribute to the chaos. I knew I needed a better storage solution for our beloved handmade throws.


