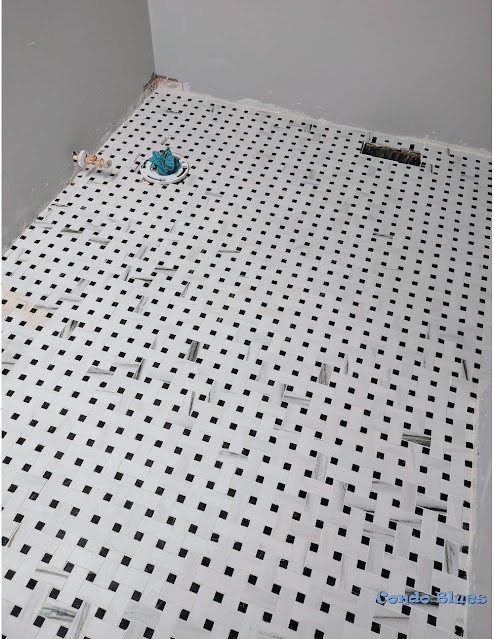
The answer is yes.
Yes, you do.
Grout is generally made from a mix of water, sand, and cement (unless you are installing tile with small grout lines like mine which required unsanded grout.) Which means the finished product will dry with microscopic spaces in between the sand/cement and is porous. Water and liquids can seep through and cause mold and mildew on your subfloor and trust me when I say this, it is NOT a fun thing to remove and replace.

This is only one small part of the moldy bathroom subfloor I had to remove and replace. 0/10 do not recommend.
Not to mention, even when dry, if the grout is not sealed it is very easy to remove by getting it wet. That's great when you need to clean hazy tile after grouting it but not great for long term wear and tear. This is why you need to add a sealant to protect the grout from liquids and such.
Fortunately, sealing grout lines couldn't be easier. Here's how to do it.
How to Seal Grout the Easy Way!
- Grout sealant that penetrates the top of the grout line and down into the grout particles. This type of grout sealer is longer lasting.
- Grout sealant that rests on top of the grout particles to form a protective barrier and may need to be reapplied more often with wear.
Since my tile floor is in a moisture filled bathroom that will often be wet or damp, I am using this exact penetrative grout sealer Custom Building Products TileLab Grout and Tile Sealer which is made for moisture laden rooms like bathrooms. (Disclosure: I am including affiliate links in this post for your convenience.)
Also I only want to do this job once if I can help it.
You will need the following supplies for this grout sealing project:
Clean, cured, and dry tile grout
Grout sealer - I chose a sealer that comes in a spray bottle because I don't want to miss any of the small grout lines in my small room. If you are grouting a larger area, you can buy tile grout sealer by the gallon here
Grout sealer applicator (if you are using a sealer that is in a jug) There are two types: a brush bottle applicator that looks like this and a grout sealer applicator bottle with a wheel that looks like this. Both work well. What you use is largely up to preference and availability.
An old towel - use white towel for white grout and a dark colored towel for dark colored grout. Why? To lessen the chance that you will accidentally leave a different color lint/fibers from the towel onto the grout that will be embedded there for the rest of your days.
Time
Step by Step How to Apply Grout Sealer Tutorial
1. Working from the back of the room and out the door, use either the spray bottle or a grout sealer applicator bottle to apply grout sealant on to all of the tile grout lines in the room. If you have a natural stone or other type of porous tile that also needs to be sealed (check with your tile manufacturer to determine if you need to seal the tile as well as the grout lines) use the same technique to apply a thin coat of sealant to the tile as well.
2. Allow the grout sealer to penetrate the grout/tile for 5 minutes or so (check the product information to determine how long you need to let your brand of sealant set because it could be different from the type I used.)
3. Mop up the leftover grout sealant with the appropriate color towel.
4. Allow the grout sealant to dry and cure for approximately 72 hours (or the time recommended by the brand of grout and tile sealer you used) before walking or using the tile and grouted surface.
Looking for more tile and grout sealer tools and ideas? Check out the following options - and more! - below!


No comments :
Post a Comment
I love comments and read them all! If you’re shy and don’t want your opinions made public, you can always email me at condoblues [at] gmail [dot] com.