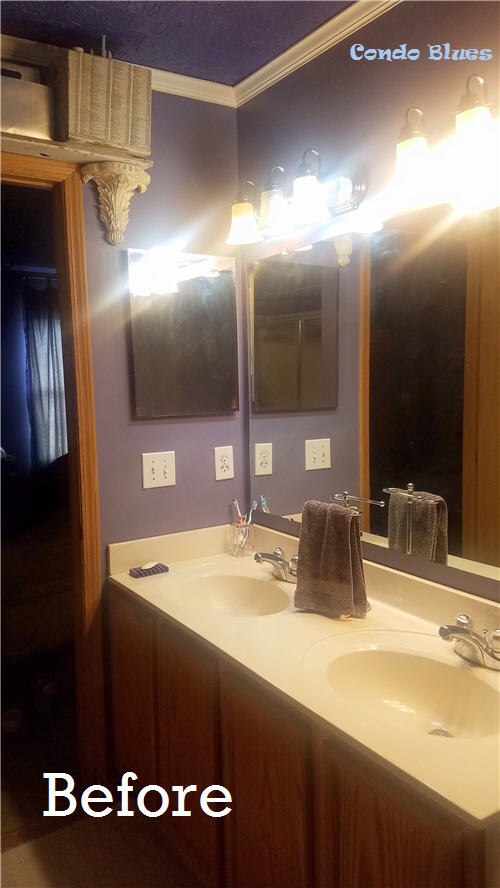
My master bathroom renovation is coming along at a good clip. We had a
leak and a little 5 minute flood in our master bathroom. Everything was just
wet enough that we had to call in remediators with giant dryers to dry out
what couldn't be removed. After they removed the vinyl flooring, they also
found batches of mold around the toilet and recommended ripping out all of the
flooring down to the joists. Which gave us an opportunity to replace
everything in the bathroom from the ground up - literally!
Save this information to your Pinterest board for later! Share it with your
friends!
I found more surprises when I removed the bathroom vanityy More leaks and more
mold!
I’m not a doctor, but I have the feeling the cause of my constant ear and
sinus infections was living under this sink.
Working in sections, I unscrewed the sub-flooring from the joists and used an
oscillating multi tool to remove the glued flooring from the joists (you can
learn more about my Rockwell Oscillating Tool that uses universal
blades here
which I chose the Rockwell over other brands, TBH.) (Disclosure: I am including affiliate links for your convenience.)
Once I removed the old moldy subfloor, I realized that there wasn’t anything
to screw the new flooring to around the edges of the room. I can’t leave it
this way or the new floor could slope over time, the tile will crack, and we’d
have to start the process all over again. Trust me, once is more than
enough!
I fixed the issue by using construction adhesive and screwing supports along
the existing joists and around the toilet flange (this is called
sistering.)
The wax ring underneath the old toilet was smashed to one side (another
unknown water leak!) and the floor flange sat at angle around the plumbing.
The toilet didn’t sit level and this caused one of leaks and eventually
mold. I figured that possibly going overboard with sistering and adding
framing in between the joists to keep the toilet level is better than
taking a shortcut and regretting it later. Wood is cheap. Mistakes are
expensive.
I can't tell you how tempted I was to stick a toy skeleton down there
before I covered it with plywood.
Cutting the subfloor sections to size wasn't difficult because before I
removed the original subflooring I cut the tile underlayment to fit and to
used the underlayment pieces as a pattern when it came time to cut the new
plywood sub floor.
A ton of screws, construction adhesives, and bruises later I installed the
new subflooring in the bathroom!
I filled the seams in between the sheets of sub flooring with
Fix It All (you learn about this patching compound that’s made
specifically for wood sub-floors here) put on my dust mask, and hand sanded the seams smooth. There were a
few random spots that I couldn’t get perfectly level with sanding. I didn’t
want to take a chance on the tile floor cracking over time because of it and
started prepping the floor for leveling compound by using spray foam
insulation to make an expansion joint around the wall of the room and as a
barrier around the furnace duct and toilet flange.
Patched!
When you are suing self leveler on a wood floor it is the same technique as
using self leveler on an uneven concrete floor. Only the type of products you
use is different. You need to use a self leveling compound made for wood
floors which requires the extra step of priming the entire floor first.
I filled all of the cracks and seams between sheets of plywood with patching
compound first. (learn more about the
Henry Pre-Mixed Floor Patch I used here
) – If there is even the tiniest sliver or gap, by its very nature the self
leveling concrete will find it and drip down into it and make a huge mess.
After the patching compound dried I applied self leveling compound primer for
wood floors (you can learn more about find
Level Pro Underlayment Primer for wood I used here) with a chip brush.
Once it was dry, it was time to don my super sexy concrete work boots and
apply the leveler to the floor. This part if fairly easy (pour stuff from a
bucket and push it around the room) but nerve wracking because self leveling
compound has a 10 to 15 minute window before it starts to dry and is
unmovable. Meaning, if you get it wrong outside of that window, it stays
wrong.

Given the short working window my husband and I teamed up for this
project. He mixed the cement leveler in small batches while I poured and
worked it around the room.
Success!

Don't worry if you have swirling or color variations in the dried concrete
underlayment. As long as those parts of the floor are hard, dry, solid, and
level, you're ready to go to the next step in your project.
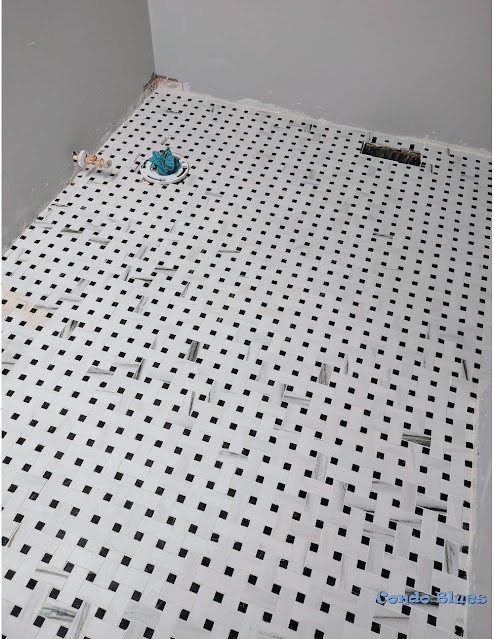
Finally it was tile time! I applied same tile underlayment and seam sealering
"tape" as I used in our guest bathroom. Yes the orange stuff is more expensive
than other options but it is water resistant and the fact that I can cut it on
the fly with scissors or a utility knife makes it worth it in my book. You can
learn more about the Schlter Ditra underlayment I used here.
Dry fit time!
Then it was time to get messy installing the tile floor and grout!
I'm using ceramic porcelain tile that looks like marble. I don't need to
seal the tile itself according to the manufacturer but it won't hurt if I
do.
The finishing touch was using
this exact spray grout sealer
to seal the grout because is made for moisture laden rooms like bathrooms.
Because I never, ever, ever want to replace a moldy sub floor again.
The next step is installing the new plumbing fixtures and lighting!
Looking for more bathroom floor renovation, organizing, and decorating ideas?
Check out the following options - and more! - below!
Did you enjoy this post? Get more like it by
subscribing to the Condo Blues RSS Feed
.


